If you loved Dead Rails on sails, then you're in for a treat with the new update to Dead Sails, despite its challenging nature. Mastering the Seven Seas and conquering the tentacled beast, the Kraken, is within your reach. Fear not the trials, as this comprehensive Dead Sails Kraken guide will navigate you through the new content, accelerate your progress, and amplify your gaming enjoyment.
Recommended Videos
Table of Contents
- Dead Sails Kraken Boss Guide
- Dead Sails Kraken Tips And Tricks
- How to Defeat the Kraken Boss in Dead Sails
Dead Sails Kraken Boss Guide
Your journey begins in the heart of town, directly across from the Gun Store and Hospital, and in front of the Trading Hut. Start by shedding any unnecessary loot and gearing up. I recommend picking up a Rifle for $75; it's affordable and packs enough punch to fend off enemies temporarily. Don't forget to stock up on coal to fuel your boat, as its old-school engine demands it.
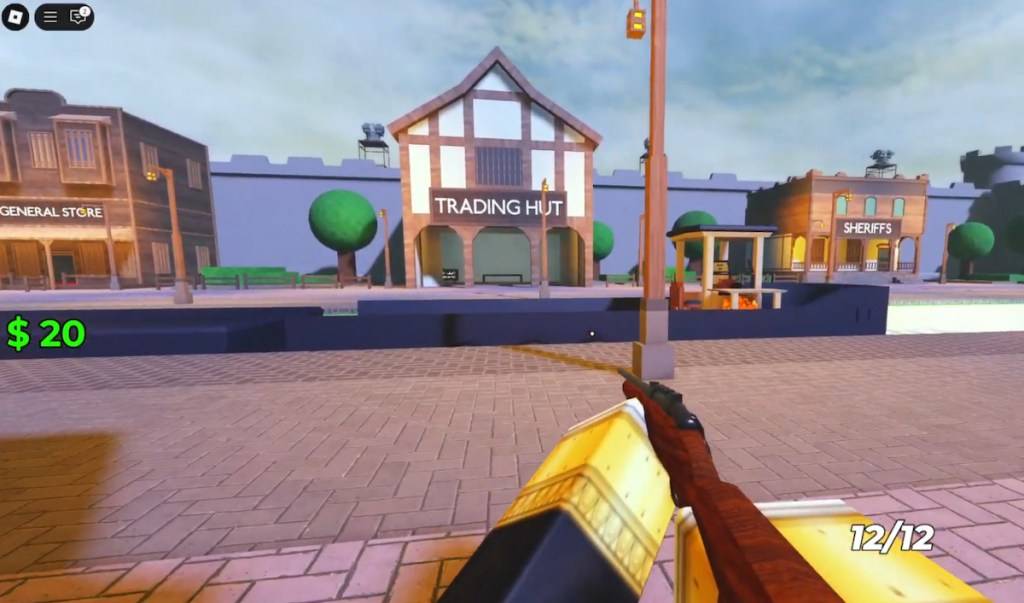 Screenshot by Destructoid
With the next town 10,000 meters away, ignite your engine and set sail. You can stop to eliminate and loot Zombies and Drowned, but it's not always worth it due to the limited valuables in nearby houses. To restart your ship, simply add more coal. Ignore the worm on the right side for now and wait until you reach the second safe zone to sell your loot, keeping an eye out for Big Foot and Zombie mobs along the riverbanks.
 Screenshot by Destructoid
Beyond the second safe zone, you'll encounter burning buildings teeming with enemies. Clear them out if you're with a team; otherwise, it's often not worth the effort due to the scattered spawn points. At around 12,000 meters, you'll find a castle-like house filled with Drowned but also boasting Shotgun ammo and other valuable loot. Use these resources wisely.
 Screenshot by Destructoid
Dead Sails Kraken Tips And Tricks
The core gameplay revolves around the kill, loot, and repeat cycle. To excel, leverage your boat as a primary inventory, emptying your bag upon return to save time and space.
 Screenshot by Destructoid
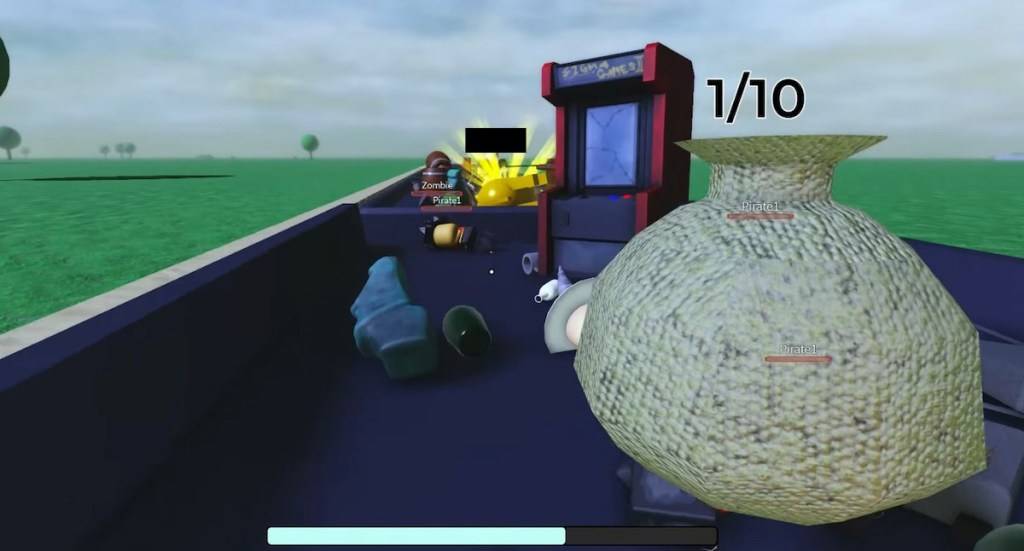
A helpful strategy I discovered while crafting this guide is stacking Zombies near the incinerator. While it's tempting to flee backwater towns, efficient loot management pays off. If you're low on fuel, toss a few Zombies into the incinerator for a quick refuel.
 Screenshot by Destructoid
Also, pay attention to Sheriff's offices, which often house a high concentration of mobs but reward you with valuable weapons and ammo. I kept my shotgun well-stocked by having a teammate clear the ground floor during our town sweeps.
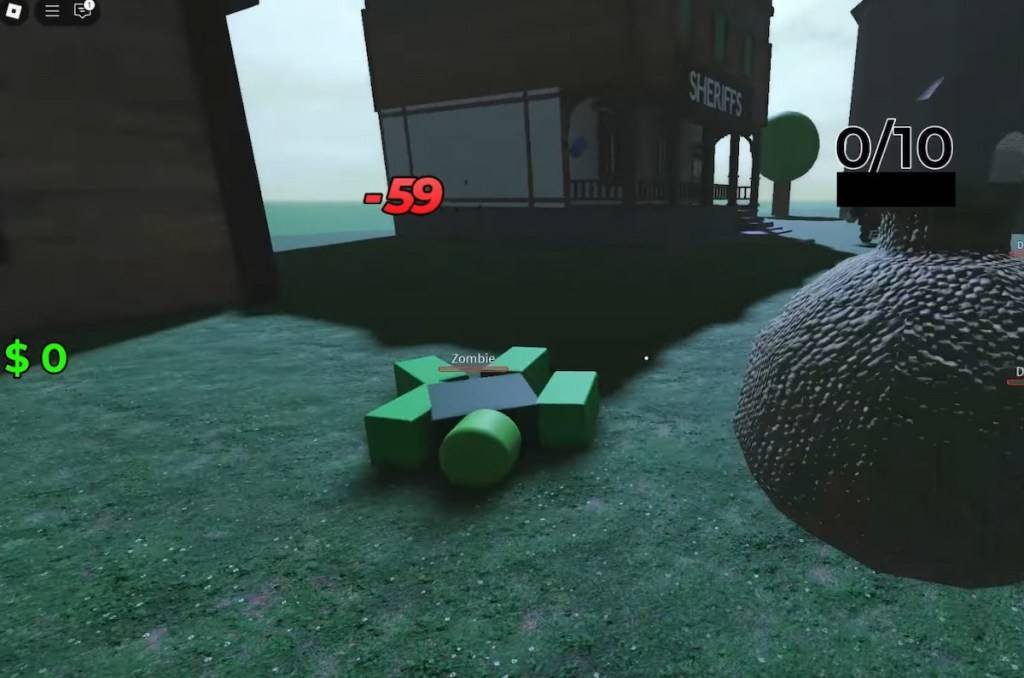 Screenshot by Destructoid
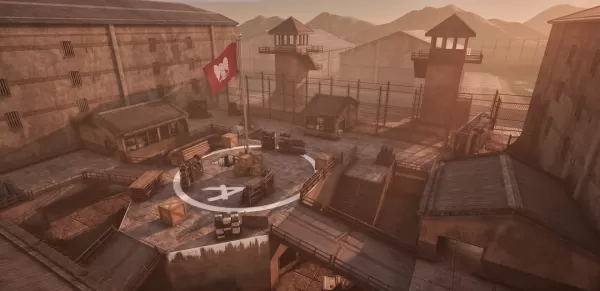
Save your ammo, weapons, fuel, and medkits for the fortress at around 25,000 meters. It's still under construction, making it vulnerable to ambushes. I recommend tackling it with at least three people, ideally a full squad of five. Be efficient with your loot collection here.
 Screenshot by Destructoid
Avoid engaging Big Feet beyond 30,000 meters; they're tough and consume a lot of ammo to defeat safely. Plan your stops carefully, as loot isn't everything.
The town after 50,000 meters is an excellent farming spot, with numerous Drowned and Zombies ripe for the taking. It's also an efficient way to gather corpses for fuel. Coordinate with your team to have bodies ready for loading.
How to Defeat the Kraken Boss in Dead Sails
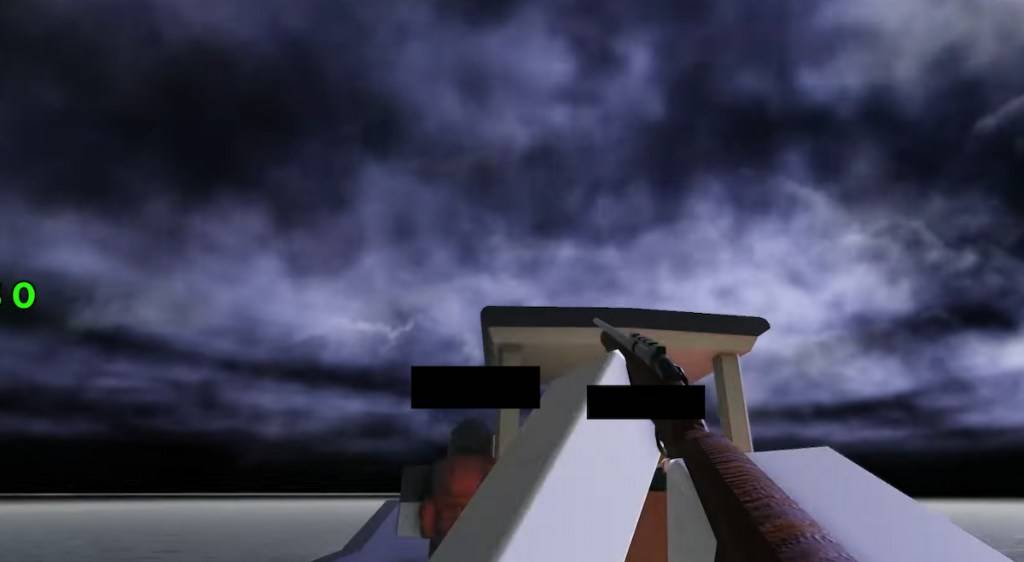
Before facing the Kraken, sell your excess items in the final safe zone and stock up on ammo, weapons, and medkits. Don't skimp on killing Zombies and Drowned; aim to have a stash of 8-10 corpses for fuel during the final leg of this adventure. At around 100,000 meters, you'll reach open waters, ready to confront the beast. The signal of its approach is the darkening skies.
 Screenshot by Destructoid
 Screenshot by Destructoid
As the Kraken emerges, each player must target a tentacle. The boss has substantial health, and each tentacle can attack and cause damage if not properly countered. If you have five players, form a pentagram-like formation and focus on your individual tentacle.
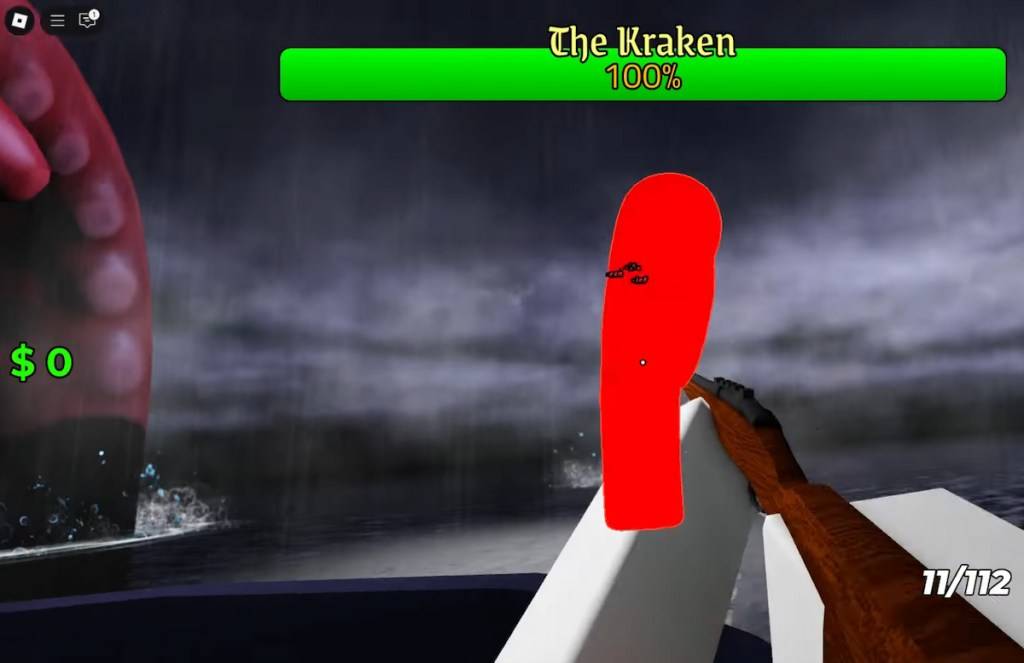 Screenshot by Destructoid
Be vigilant about the water splash attack, which inflicts area-of-effect damage and is telegraphed by the Kraken pulling back its tentacle and leaving a water trail. Use medkits liberally to counteract the inevitable damage.
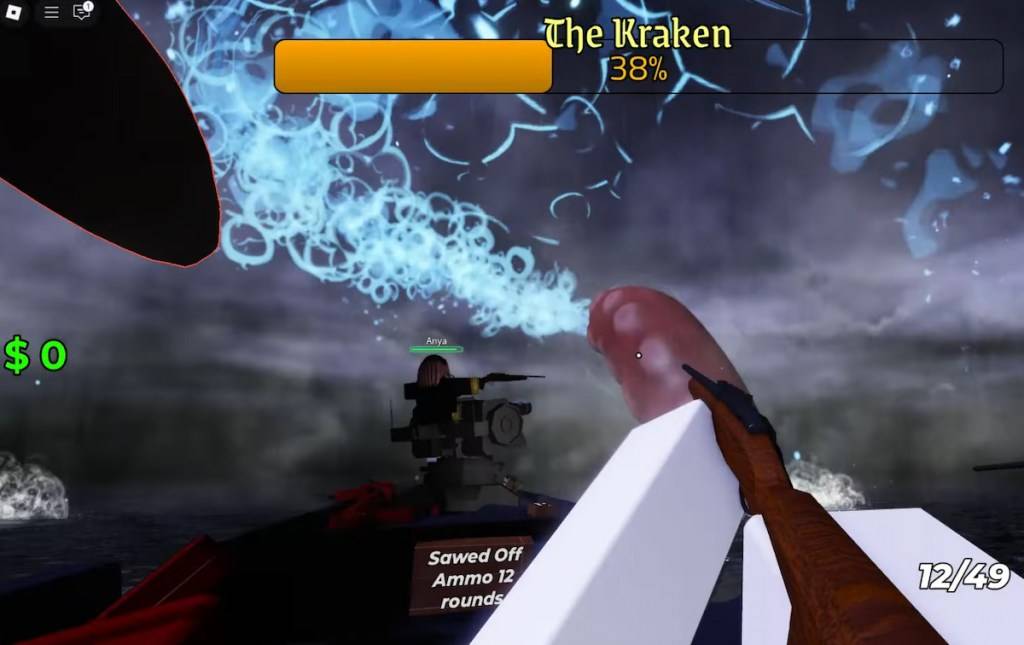 Screenshot by Destructoid
Lastly, watch out for the Roar AoE, causing minor but unblockable damage and seemingly boosting the Kraken's attack power. You'll notice it by the white concentric circles emanating from the tentacle that used the ability.
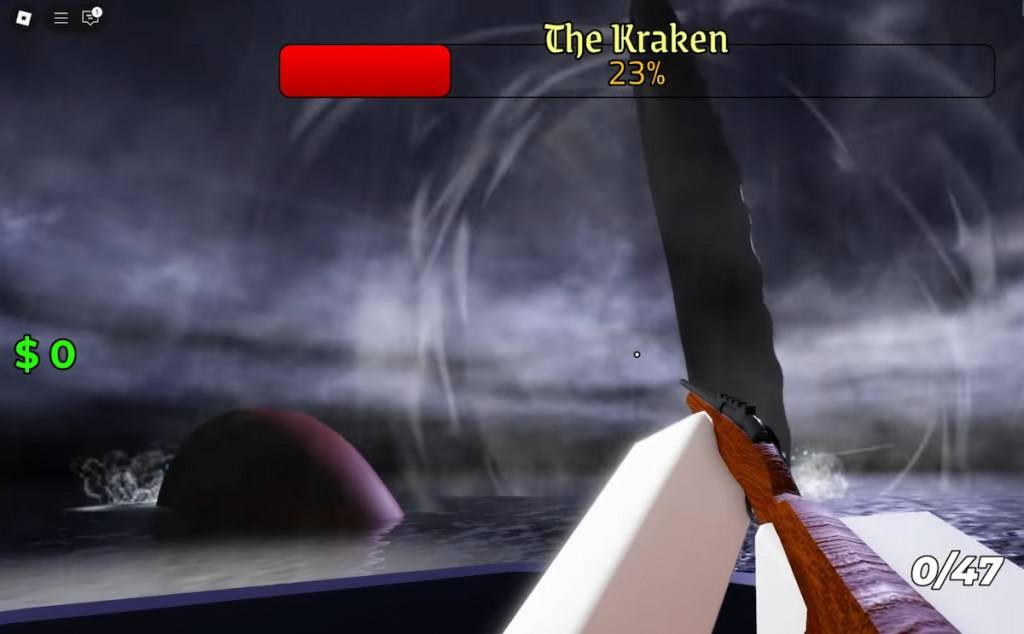 Screenshot by Destructoid
As you can see, while it may seem daunting, defeating the Kraken is quite manageable with the right strategy. That concludes my Dead Sails Kraken Guide. To speed up your progress even further, consider using one of our Dead Sails codes. Best of luck and smooth sailing on your adventure!