Mastering the Dual Blades in Monster Hunter Wilds: A Comprehensive Guide
In the dynamic world of Monster Hunter Wilds, raw power isn't always the key to victory. Exceptional speed and strategic positioning can overcome even the toughest foes. The Dual Blades excel in this high-octane combat style. This guide details optimal Dual Blade usage in Monster Hunter Wilds.
Recommended Videos Dual Blades in Monster Hunter Wilds
The Dual Blades are swift and deadly, versatile weapons designed for rapid, successive strikes. Understanding both their modes is crucial for battlefield success.
All Moves
| Command | Move | Description |
|---|---|---|
| Triangle/Y | Double Slash/Circle Slash | Initiates a basic combo. A Double Slash is followed by a Circle Slash with another Triangle/Y press. |
| Circle/B | Lunging Strike/Roundslash | A slashing attack moving in the analog stick's direction. A second press performs a Roundslash. |
| R2/RT | Demon Mode | Activates Demon Mode, boosting attack power, movement speed, evasion, and granting knockback immunity. |
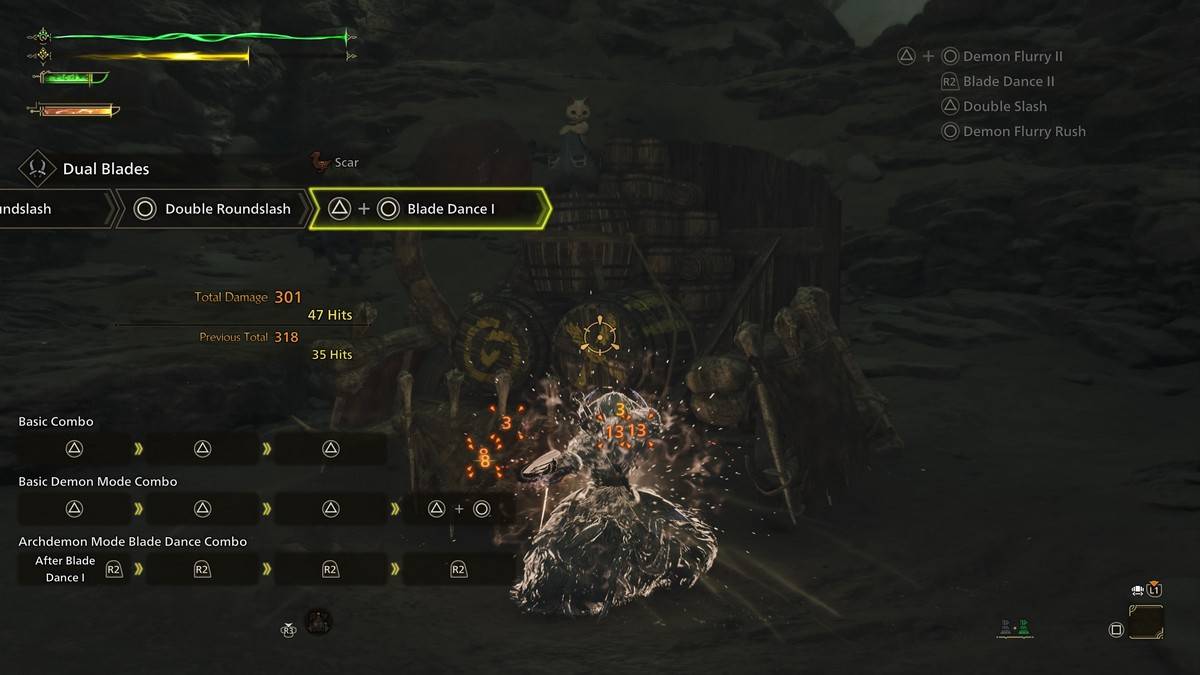
| Triangle/Y + Circle/B (In Demon Mode) | Blade Dance I, II, III | Powerful attacks in Demon Mode, chained together and consuming the Demon Gauge. |
| Triangle/Y + Circle/B (In Archdemon Mode) | Demon Flurry I, II | Attacks exclusive to Archdemon Mode, consuming the Demon Gauge. Analog stick controls direction. Chainable with Blade Dance using R2/RT. |
| Cross/A (During Demon/Archdemon Mode) | Demon Dodge | Faster dodge in Demon/Archdemon Mode. Perfect Evades allow attacks during dodging, providing a temporary buff. Does not consume the Demon Gauge in Demon Mode. |
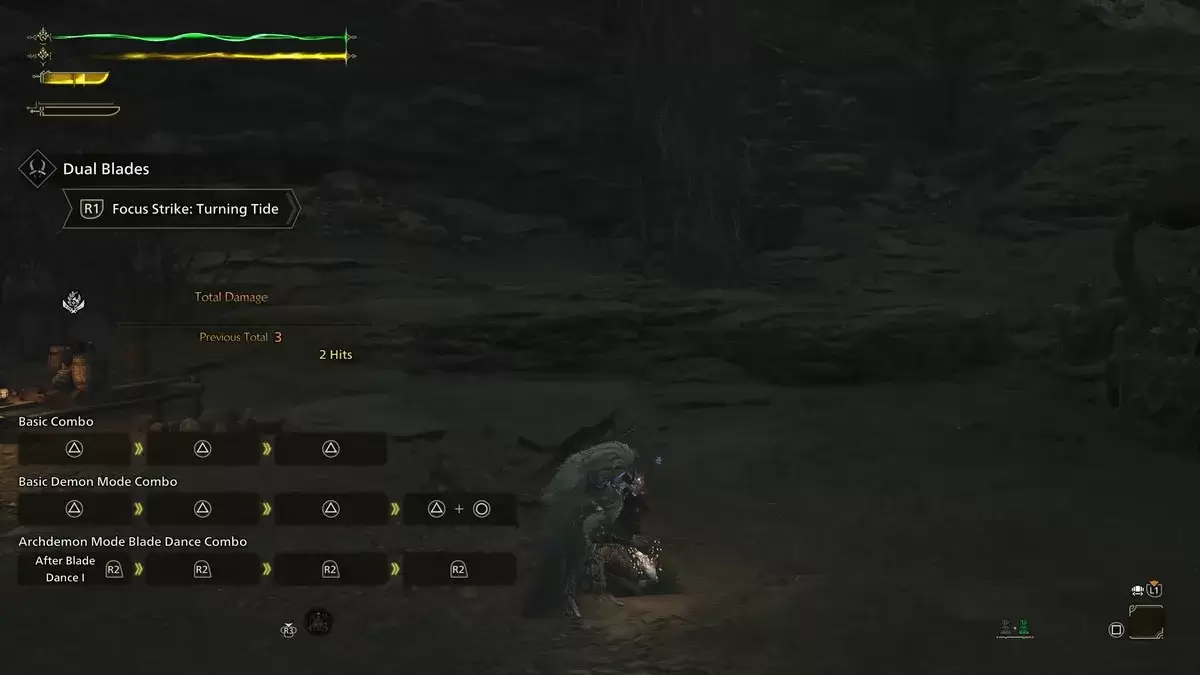
| L2/LT + R1/RB | Focus Strike: Turning Tide | Slashing attack effective against wounds. Hitting a wound triggers a Midair Spinning Blade Dance, spanning the monster's length and potentially destroying multiple wounds. |
Demon Mode/Demon Gauge and Archdemon Mode
The Dual Blades' unique gauge mechanic allows entry into Demon Mode, enhancing attack, movement speed, evasion, and providing knockback immunity. Stamina depletes constantly in Demon Mode, ending upon manual cancellation or zero stamina.
Attacks in Demon Mode fill the Demon Gauge. A full gauge activates Archdemon Mode, where the gauge depletes over time and is consumed by certain attacks, enabling powerful, gauge-consuming strikes.
Both modes are usable simultaneously. The Demon Gauge stops depleting while mounted, offering strategic advantages.
Demon Dodge
Activated after a Perfect Evade, this empowered state increases regular and elemental damage, allowing attacks while dodging. A 12-second damage buff is granted, with subsequent dodges causing spinning forward damage.
Combos
Basic Combo
A three-part Triangle/Y chain (Double Slash, Double Slash Return Stroke, Circle Slash) provides reliable damage. Alternatively, the Circle/B Demon Flurry Rush – Spinning Slash – Double Roundslash combo rapidly fills the Demon Gauge.
Demon Mode Basic Combo
Demon Mode enhances the basic combo's speed and power: Demon Fangs, Twofold Demon Slash, Sixfold Demon Slash, culminating in Triangle/Y + Circle/B for Demon Flurry I.
Archdemon Mode Blade Dance Combo
In Archdemon Mode, unleash a devastating sequence: Blade Dance (Triangle/Y + Circle/B), followed by four R2/RT presses for Demon Flurry I into Blade Dance II, then Demon Flurry II and Blade Dance III. This alternating attack pattern delivers significant damage.
Related: How to Capture Monsters in Monster Hunter Wild
Dual Blade Tips
Always Follow Up
The basic Demon Flurry Rush combo (Circle/B + Circle/B + Circle/B) smoothly transitions into Demon or Archdemon Mode combos (three Triangle/Y + Circle/B sets). This rapidly fills the Demon Gauge and unleashes swift, powerful attacks.
Maintain Stamina
Demon Mode relies on stamina. Maintaining high stamina ensures peak performance. While exiting Demon Mode recovers stamina, exploiting enemy wounds with Focus Strike temporarily halts stamina drain while filling the Demon Gauge.
Dodge Between Attacks
Dodging is crucial due to the lack of reliable defense. The Dual Blades' mobility allows dodging between attacks and combos. Avoid over-aggressiveness and commit only when opportunities arise.
Sharpen Frequently
The Dual Blades' constant attacks necessitate frequent sharpening. The Speed Sharpening skill significantly reduces downtime.
This concludes the guide to mastering Dual Blades in Monster Hunter Wilds. Consult The Escapist for further game assistance.
Monster Hunter Wilds is available now on PlayStation, Xbox, and PC.